React is one of the most popular JavaScript libraries for building modern, dynamic, and responsive websites or web apps.
Here’s a Step-by-Step Guide to create a website using React from scratch — even if you’re new to it.

Step 1: Understand the Basics
Before you start, you should know:
- HTML → Structure
- CSS → Styling
- JavaScript (ES6) → Logic
- React → Builds UI using components
React helps you create reusable components (like buttons, forms, sections) that dynamically update when data changes — no page reloads needed.
Step 2: Install Node.js and npm
React needs Node.js and npm (Node Package Manager).
Check if Node.js is installed:
node -v
npm -v
If not installed, download it from https://nodejs.org
Step 3: Create a New React App
You can use one of two methods:
Option 1: Using Create React App (simpler)
npx create-react-app my-react-website
cd my-react-website
npm start
This automatically sets up React with everything you need.
Your app will start at http://localhost:3000
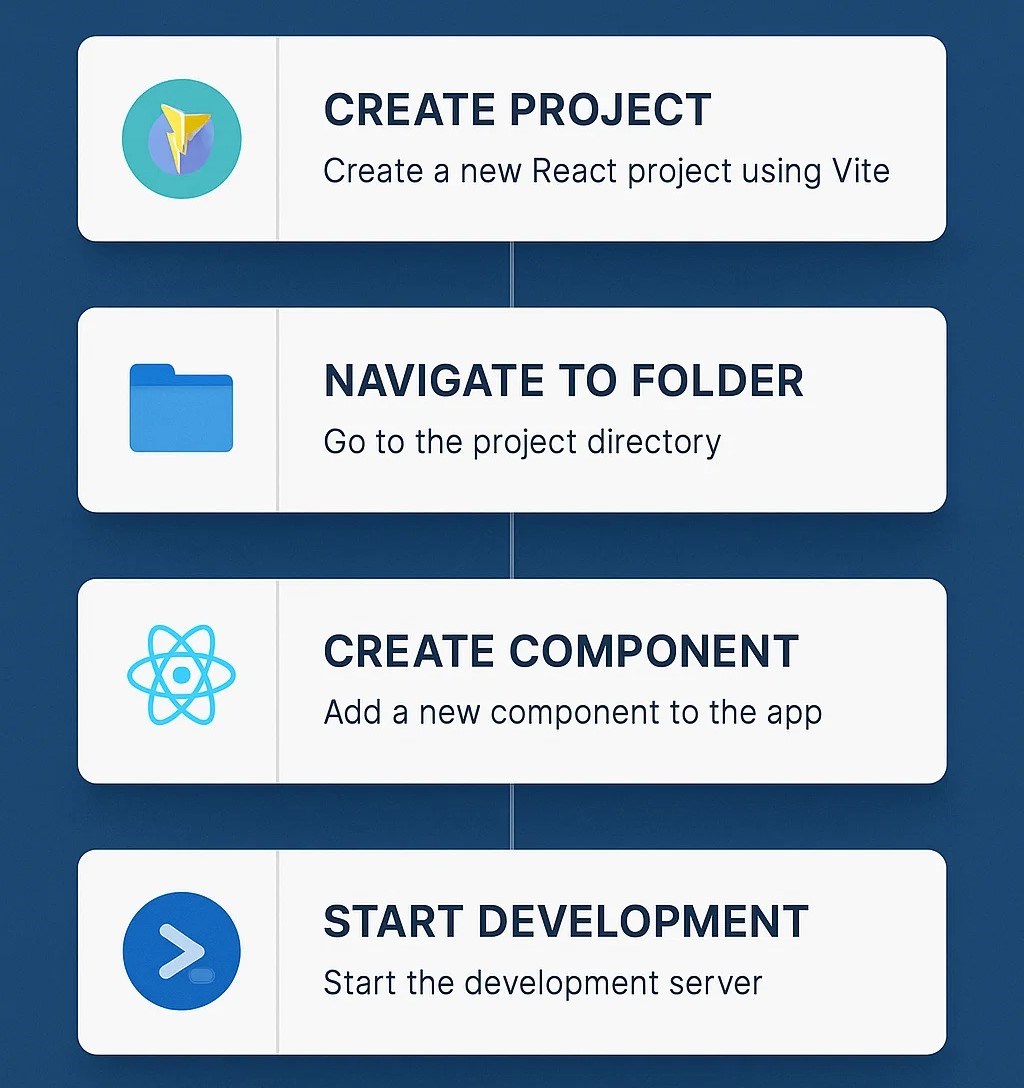
Option 2: Using Vite (faster build tool)
npm create vite@latest my-react-website -- --template react
cd my-react-website
npm install
npm run dev
Vite is newer and much faster than Create React App.
Step 4: Understand the Folder Structure
Your React app will look like this:
my-react-website/
│
├── node_modules/       → dependencies
├── public/             → static files (favicon, images)
├── src/                → your code
│   ├── App.js          → main app component
│   ├── index.js        → entry point
│   ├── components/     → reusable UI parts
│   ├── pages/          → different pages
│   └── styles/         → CSS files
├── package.json        → app info & dependencies
└── README.md
Step 5: Build Your First Component
Open src/App.js and replace the code with:
import React from 'react';

function App() {
  return (
    <div style={{ textAlign: 'center', padding: '50px' }}>
      <h1>Welcome to My React Website</h1>
      <p>Built from scratch using React.js</p>
    </div>
  );
}

export default App;
Save and refresh — it should show your custom content.
Step 6: Add Components
Create a folder:src/components/Header.js
import React from 'react';

function Header() {
  return (
    <header style={{ backgroundColor: '#282c34', padding: '20px', color: 'white' }}>
      <h2>My React Website</h2>
    </header>
  );
}

export default Header;
Then import it into App.js:
import Header from './components/Header';

function App() {
  return (
    <>
      <Header />
      <main>
        <h1>Home Page</h1>
      </main>
    </>
  );
}
Step 7: Add CSS Styling
You can create a src/styles/App.css file:
body {
  font-family: Arial, sans-serif;
  margin: 0;
  background: #f4f4f4;
}
h1 {
  color: #333;
}
Import it in App.js:
import './styles/App.css';Step 8: Add Navigation (React Router)
Install React Router:
npm install react-router-domCreate pages:
src/pages/
├── Home.js
└── About.js
Home.js
function Home() {
  return <h1>Welcome Home!</h1>;
}
export default Home;
About.js
function About() {
  return <h1>About Us Page</h1>;
}
export default About;
Then update App.js:
import { BrowserRouter as Router, Routes, Route, Link } from 'react-router-dom';
import Home from './pages/Home';
import About from './pages/About';

function App() {
  return (
    <Router>
      <nav style={{ background: '#333', padding: '10px' }}>
        <Link to="/" style={{ color: '#fff', marginRight: '10px' }}>Home</Link>
        <Link to="/about" style={{ color: '#fff' }}>About</Link>
      </nav>

      <Routes>
        <Route path="/" element={<Home />} />
        <Route path="/about" element={<About />} />
      </Routes>
    </Router>
  );
}

export default App;
Step 9: Add Images and Assets
Put images in public/ or src/assets/.
Use them like:
<img src="/logo.png" alt="logo" />or
import logo from './assets/logo.png';
<img src={logo} alt="logo" />
Step 10: Build and Deploy
1. Build for production:
npm run build
This creates a build/ folder ready for deployment.
2. Deploy options:
- Vercel (best for React) — https://vercel.com
- Netlify — drag and drop your
buildfolder


Leave Comment